The Gravity Nelson mechanics came up with this simple guide to diagnosing and locating annoying creaks on your bike. Check it out.
Like anything which makes a creak or a groan, there is a cause, and left unchecked can get worse. Whether that be your car, knees, or bike. Good news is, most creaks and squeaks on your bike will not incur damage but you won’t know without checking. Bad news is, creaks can be very hard to diagnose and often need to be solved with trial and error. However, if you pay attention to the symptoms, you can narrow it down a bit. Below is a little flow chart so help you take the guesswork out of killing your creak with.
A. Your bike creaks only when you are pedaling: Ooof this is a tough one, lets try and narrow it down some more.
- But only when you are seated: Try the seatpost and seat bolts first. If the creak persists, give the bottom bracket an overhaul. Last resort; suspension linkage.
- But only when you are standing: Bottom bracket is very suspect in this case but suspension linkage is also a possibility. Can’t rule out the headset either but it is unlikely.
- But only when pedalling really hard like a steep climb: Unfortunately this could be anything. Start with the seatpost because it is quick and easy. Next try the bottom bracket, and then the suspension linkage. Can’t rule out the headset either but it is unlikely.
- No matter what and the sound seems to be correlated with your pedal cadence: This could definitely be the bottom bracket but it could also be the chainring, pedals, or even the cassette.
Your bike creaks when you are descending or on any rough terrain:
- The creak sounds like it is coming from the front of the bike: Headset is most likely but stems have been known to creak too. There is also a possibility the Crown Steerer Unit is creaking.
- The creak sounds like it is coming from the back of the bike: Suspension linkage is most likely but it could also be the seatpost.
Your bike creaks 24/7, even when you aren’t riding it: Maybe buy a new bike? That probably isn’t realistic so you are just going to have to try everything. Start with some of the simpler tasks like the seatpost and work your way through until you are satisfied.
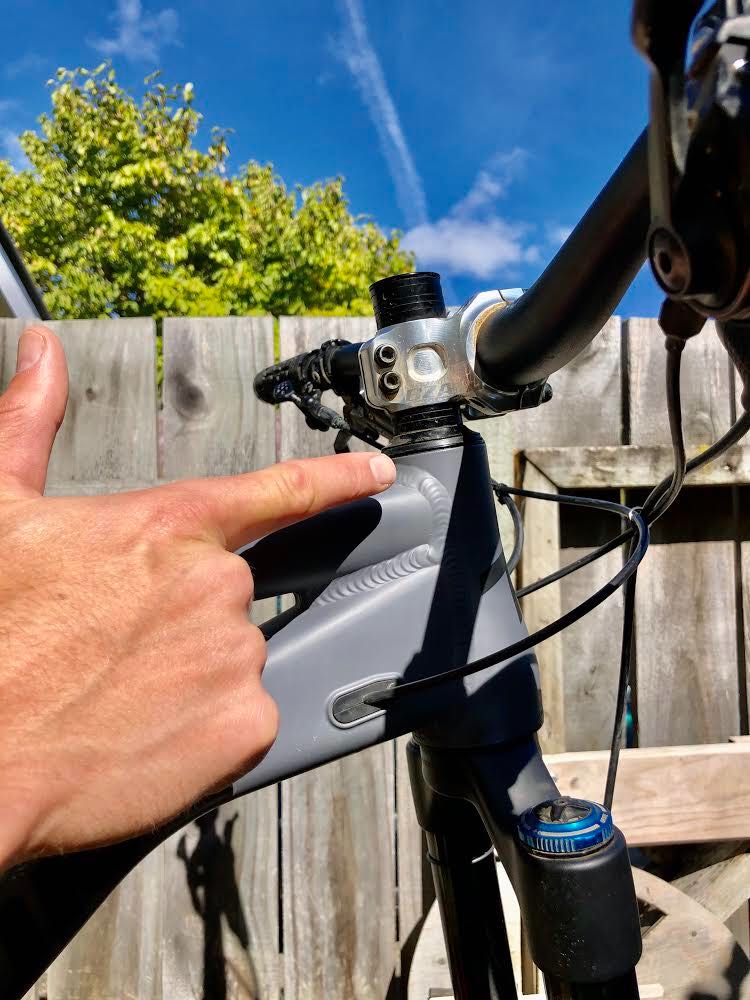
The headset, this is a pretty common site for that creak which you hear when climbing up hill or when compressing the front suspension quite hard. Sounds more like a ticking noise. A lot of movement and force goes through this area, and a lot of dust can work past the seals which dries the grease between the headset components.. Sometime it can also be from over tightening of the top cap nut, which causes the bearings to get overloaded, essentially squashing them…. not good.
How to Test: hold the bike by the front of the frame with the front wheel off the ground and rotate the handlebar left and right listening for “clicks and ticks” from the headset.
How to Solve: Put your bikes in the stand, remove the front wheel, front brake from fork lower, top cap, and stem. From here you can get good access to the headset bearings, pull them out, give them a spin, and assess for 360″ of rotation. If it feels rumbley or there isn’t 360″ degrees of rotation, I would recommend replacing. If the bearings feel good, clean the headset cups and bearing, and put everything back in place with a moderate amount of grease. Tighten the top cap first, and then the stem bolts. You can test the bearing preload by turning the handlebars 90 degrees, apply the front brake, and rocking the bike fore and aft.
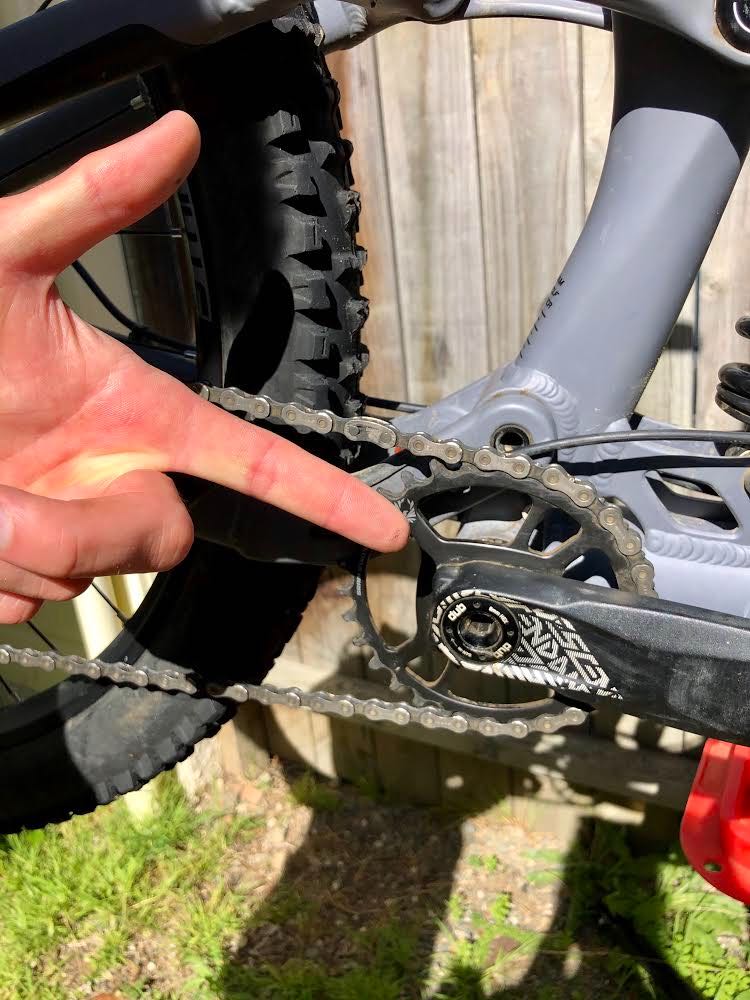
The bottom bracket! These little things in our frames that we usually just take for granted, take an absolute hammering. The amount of revolutions it goes through is impressive; and all of the force that goes through the crank spindle goes through those bearings. It is also right in the firing line for dust and crud. A telltale sign this thing is dry or worn out is creaking when pedaling, or sounding rumbley when spinning the cranks by hand. It might be that the threads or press interfaces are dry (which is common in brand new bikes) and just need a clean and re-grease. But it is also possible the bearings have just worn out. Tip: Over tightening bottom bracket preload reduces bearing life so be careful when making adjustments.
How to solve: Remove cranks. Asses the bearings for movement and signs of wear. Using the correct BB tool for your BB, (ie. Sram DUB, Hope, Shimano, E13) remove the BB, clean the threads and any dirt from the BB shell and crank spindle. Re-assemble with liberal amounts of grease when installing the BB. Follow manufacturers torque spec for tightening the BB and crank bolts. To test you can pedal around, apply the brakes to add some resistance, and torque the cranks as hard as you can. Listen for any creaks.
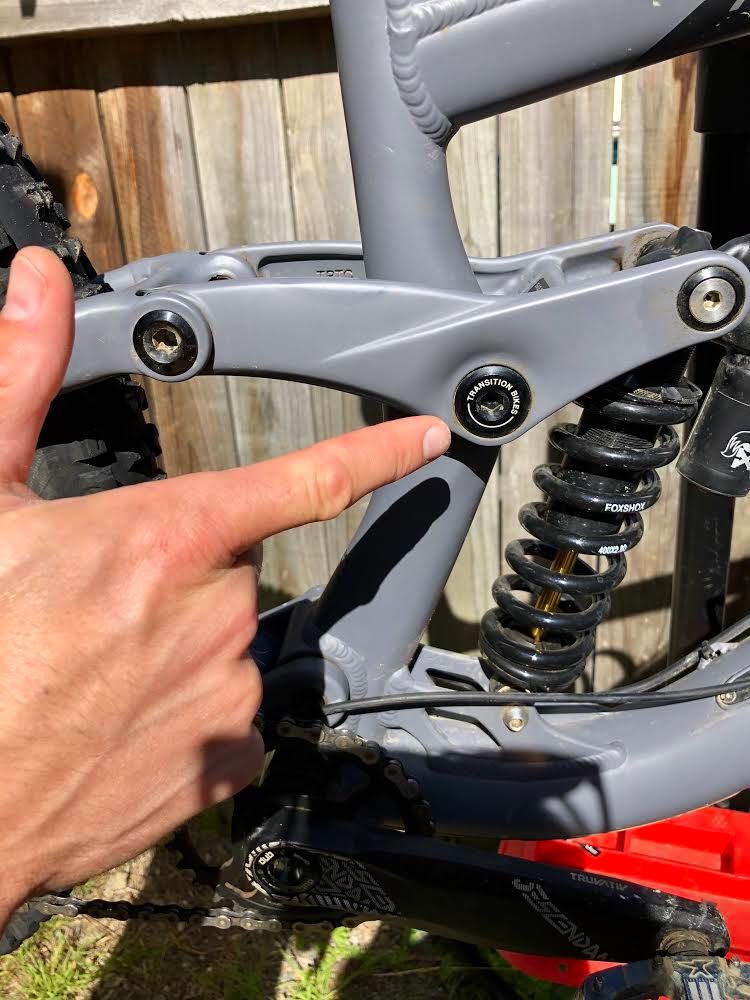
Pivot bolts! All of our full suspension bikes have different linkage types (VPP, DW, Horst, ABP, Evolink), but they all have pivot bolts, duhhhh! There is a lot a movement and stress that go through here, especially on these Nelson descents. They can easily become seized and this can happen through regular use, riding in wet weather conditions, and over tightening of pivots. The pivots could also just be dry and need cleaning and re-greasing.
How to solve: Remove all pivot bolts, laying them out in order so you remember their configuration and don’t lose any (otherwise you end up spending a lot of time on your hands and knees, trust me). Assess all bearings are free spinning, and if not then I recommend changing them. Clean and re-assemble with grease on contact point. Some frames have a specific order to put things back together so keep a mental note of how you disassembled it. TIP: Don’t over do it with grease here; too much will attract dust and dirt and clog the movement.
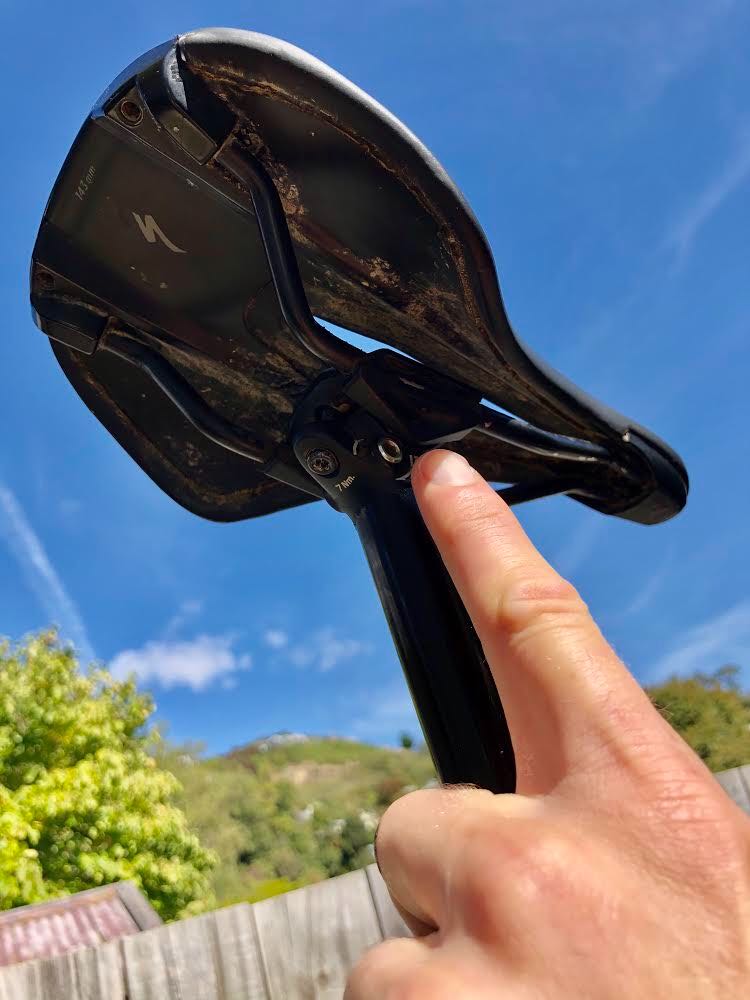
Seat clamp rails! This isn’t really commonly looked at, but this along with a dry BB and headset can make your bike sound like a bag of spanners. We move around a lot on our saddle, and dust and dirt likes to settle around here. Also, in some scenarios, the frame can torque enough for there to be movement between it and the seatpost. Symptoms of this are usually heard when seated pedaling and gets worse when climbing. Also, not tightening the seat clamp bolts enough can cause the saddle to slowly migrate under load. A clean and a dab or grease can work wonders.
How to solve: Measure your saddle height and remove the seatpost from the frame. Cleant the post and inside of the frame. Reinstall with a friction paste (like carbon assembly compound). Remove seat clamp bolts to remove to saddle, keep the bolts in a safe place. Clean seat post clamp and rails of the saddle, and reassemble with a very thin layer of grease. Once you’ve gotten the seat clamps relatively tight, test the angle of the saddle and adjust to suit. TIP: You can also check the air pressure of your seat post whilst everything apart at the same time (if your seat post allows). Friction paste reduces the camping force needed to keep your seatpost at the correct height which will allow your dropper to slide more freely.
If you guys and gals feel competent doing this and have the tools at home, go for it. If you get stuck flick us a message and some pictures of whats going down. Or, once our current situation has changed come and see us back at the shop.
Hopefully these little gems help. Let us know what you think, or if there are any at home mechanics tricks and tips you want to know.