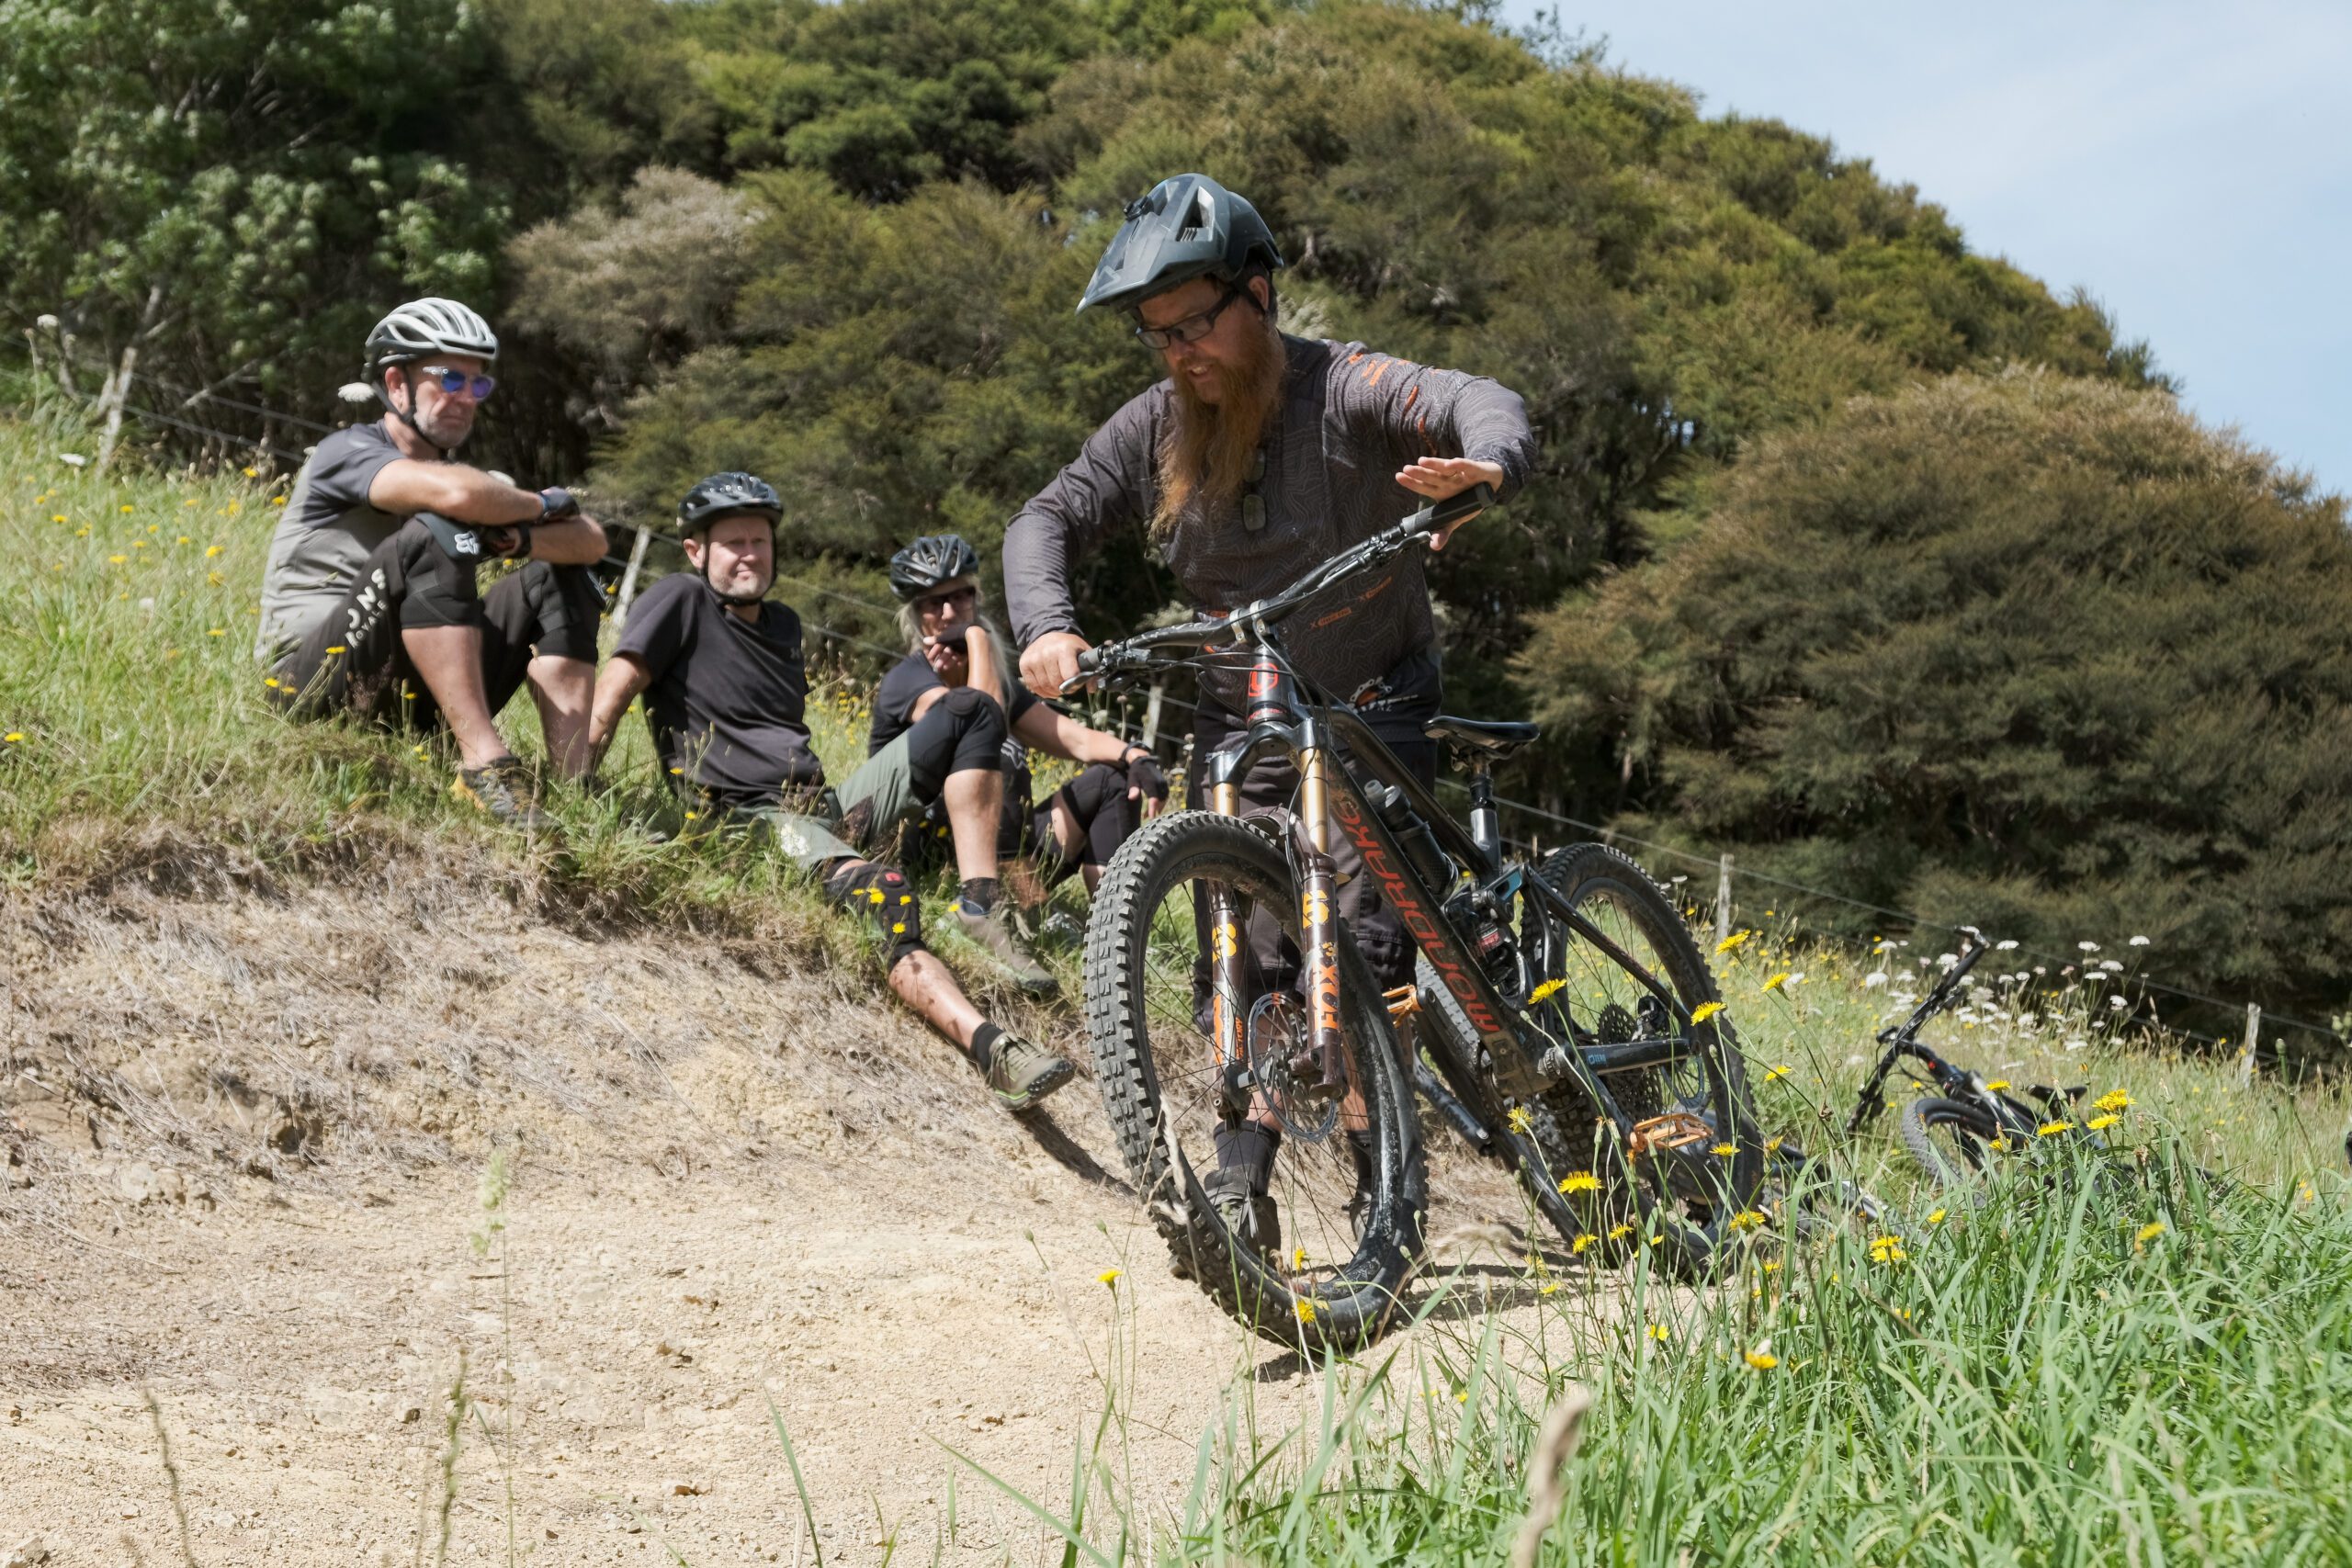
The “Revolutionise Your Riding” Pre-Course Checklist
Congratulations to the 50 riders who secured their spots in the 2026 “Revolutionise Your Riding” series. We sold out in record time, and we are excited to get on the dirt with you.
However, there is a hard truth in mountain biking: even the best coaching cannot overcome a bike that is working against you. If your equipment is poorly set up, you will spend your energy fighting the machine rather than learning new skills. Before we meet for Week 1, use this checklist to ensure your setup is an asset, not a liability.
Not doing the course? This article can provide you with some quick “non-coaching” tips about reducing common bike set-up issues that can sabotage your riding. You can read more about our “Revolutionise Your Riding” adult four part courses HERE.
TL;DR – The Quick Pre-Flight Check
- Connection: Metal pins on pedals are non-negotiable for stability.
- Ergonomics: Handlebar width and brake lever position must fit your body.
- Traction: Tire pressure and appropriate tread are the foundation of control.
- Performance: Suspension requires regular servicing and correct sag/rebound settings.
- Reliability: A smooth drivetrain and dropper post allow you to focus on the trail.
- The Solution: If your bike fails any of these checks, book a “Pre-Course Revitalisation Service” at Gravity Nelson today.
1. The Pedal Problem: Plastic vs. Precision
Problem: Riding with plastic, slippery “platform” pedals that lack metal traction pins.
Impact: Your feet will bounce off in technical sections or “float” during cornering. This creates massive insecurity and prevents you from correctly weighting the bike.
Solution: Upgrade to high-quality flat pedals with replaceable metal pins or a correctly adjusted clipless system.
Result: Locked-in stability that allows you to confidently move your body without fear of “shins to pedals” incidents.
Additional Note: For progression and learning flat pedals are far better than clip pedals. We believe you will get less from our course if you come with clip pedals.

Stock pedals on kids bikes are often very slippery, check you aren’t running these.
2. Handlebar Width: The “One Size Fits None” Myth
Problem: Riding bars that are too wide (causing overstretching) or too narrow (losing leverage).
Impact: Bars that are too wide for your shoulder width lead to “chicken winging,” shoulder fatigue, and an inability to lean the bike properly when cornering. “Stock” bars are almost always 800mm and for most of the population need to be cut-down.
Solution: Generally speaking you can find an optimal width using a tape measure on the ground (start at 800mm, then reduce by 20mm at a time) and doing press-ups/push-ups on the ground until you find a “strong” position. Or pop in the shop for bar-width measurement and a precision cut in our workshop.
Result: Natural arm positioning that improves cornering leverage and significantly reduces upper-body fatigue, plus “save you” on big hits.
3. Tire Pressure: The Neglected Suspension
Problem: Running “guesswork” pressures—usually far too high for Nelson’s roots and rocks. Or aternatively too soft as you are not regularly checking them, topping up tire sealant etc leading to damaged rims and a wallowing ride.
Impact: High pressure makes the bike “ping” off obstacles like a pinball, destroying traction and making the ride feel harsh and unpredictable.
Solution: Use a digital gauge to set pressure and regularly check it, a good base starting point is 22psi in the rear and 20psi in the front.
Result: Maximum mechanical grip, better braking performance, and a much smoother ride through technical terrain.
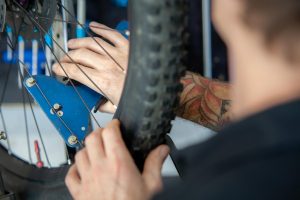
Check to see if your tires are appropriate for Nelson riding, or too worn out.
4. Brake Cockpit Setup: Reach and Angle
Problem: Levers angled too steeply downward or set too far from the grips.
Impact: This forces your wrists into an unnatural position, leading to “arm pump” and preventing one-finger braking. If you cannot reach your brakes comfortably and have to stretch your hand to reach them then you loose grip on the handlebars, creating instability.
Solution: Adjust lever reach (so you can comfortably reach the crook of the lever with your pointing finger, and it touches the first crease on your finger below your fingerprint) and angle (to reduce excessive wrist bend when in your attack position).
Result: Effortless one-finger braking and a massive reduction in hand pain during long descents.
5. Suspension Maintenance: The Friction Factor
Problem: Dry seals and old oil in your fork or shock (recommended service intervals are around 50 hours of ride time for a basic check, 100 hours for a partial service, and 200 hours for a full service). Because suspension performance degrades slowly over time we often don’t notice how much worse it has gotten (the boiling a frog phenomenon).
Impact: Stiction (static friction) makes the suspension feel “notchy.” Instead of absorbing bumps, the bike transfers the force directly into your hands and feet.
Solution: A lower-leg fork service and air-can shock service to replace old lubricants.
Result: “Butter-smooth” initial stroke that keeps your tires glued to the ground and improves comfort.
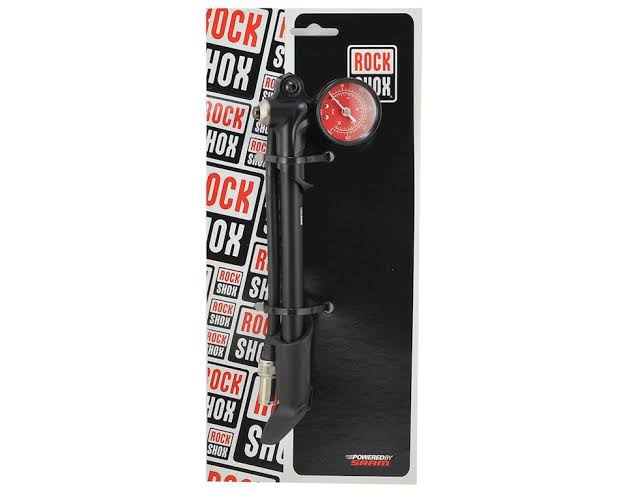
Using a shock pump can insure your fork and rear shock are appropriately set-up.
6. The Sag and Rebound Puzzle
Problem: Running random air pressures and rebound speeds that do not match your weight or riding style. Note that it is not uncommon for forks or shocks to lose a bit of pressure over time.
Impact: A bike that is too soft will “wallow” and pedal poorly; a bike with rebound that is too fast will “buck” you off jumps and drops. A bike with mismatched front and rear suspension settings may “tip” you forward or backward rather than keeping you centred on the bike.
Solution: A professional suspension setup session to dial in your Sag (support) and Rebound (control). You can consult the manual for your “factory” settings for your weight, and test your Sag with the help of a friend. Measure shock and fork pressures with a shock pump.
Result: A balanced bike that feels supportive in corners and composed in the air.
7. Tire Suitability: Grade vs. Grip
Problem: Using XC (Cross Country) tires or worn-out treads for Grade 4-5 Nelson trails.
Impact: Thin sidewalls lead to punctures (ruining your ride), and a lack of side-knobs causes the front wheel to wash out in corners.
Solution: Fit tires with appropriate “Trail” or “Enduro” casings and soft rubber compounds.
Result: The confidence to lean the bike into corners knowing the side-knobs will actually bite into the Nelson soil.
8. Drivetrain Health: The Reliability Factor
Problem: Stretched chains, bent derailleur hangers, or gritty cables.
Impact: Poor shifting causes “ghost shifting” or dropped chains when you are trying to power out of a corner or technical climb, which can lead to a crash.
Solution: Drivetrain wear-check and cable replacement or indexing.
Result: Crisp, reliable shifting that allows you to focus 100% on the coaching drills and your riding.
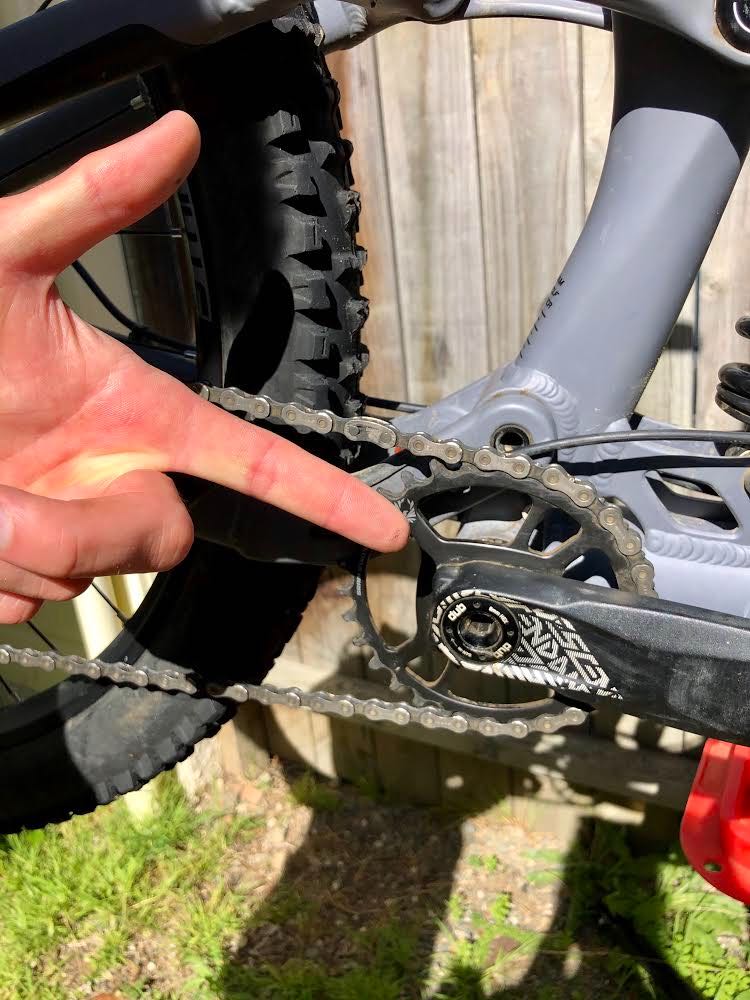
Review your drive train periodically for chain stretch and cassette or cog wear and tear.
9. Dropper Post Performance
Problem: A dropper post that is slow to return or “sags” when you sit on it.
Impact: If your seat is not out of the way instantly, you cannot adopt the correct “Attack Position” for descents, jumps, or drops.
Solution: Dropper post bleed or cable tension adjustment.
Result: Instant clearance, allowing you to move freely over the bike when the trail gets technical.
Frequently Asked Questions
Can I just fix these things during the lesson?
No. Our coaching time is for skill development. If we have to spend 20 minutes fixing a slipped chain or adjusting your levers, the entire group misses out on valuable dirt time.
My bike is brand new, surely it is fine?
Not necessarily. Most bikes come out of the box with “average” factory settings. Bars are usually uncut, and suspension is rarely set to the specific weight of the rider. A “New Bike Dial-In” is highly recommended.
Do I really need metal pins on my pedals?
If you want to stay attached to your bike in technical terrain, yes. Plastic molded pins offer almost zero grip once they get wet or muddy.
What if I do not know my suspension settings?
That is exactly why we are here. Come into the shop before the course starts, and we can perform a quick baseline check for you.
GET READY TO REVOLUTIONISE
Don’t let a simple mechanical issue be the reason you don’t progress. Visit Gravity Nelson this week for a pre-course check.